Table of Contents
PowerPoint is an incredibly powerful tool for creating presentations, but have you ever found yourself constantly adjusting fonts, colors, and layouts for every new slide? It’s frustrating and time-consuming, right? The good news is that you don’t have to do it manually every time! By creating a custom theme in PowerPoint, you can ensure consistency, save time, and make your presentations look more professional with just a few clicks. In this guide, I’ll show you step by step how to create your own PowerPoint theme, so you can personalize your slides and impress your audience with ease.
What is a PowerPoint Theme?
A PowerPoint theme is a combination of preset colors, fonts, and effects that give your presentation a consistent and professional look. Instead of adjusting each slide individually, a theme allows you to apply a cohesive design across all your slides instantly.
Steps to Create a PowerPoint Theme
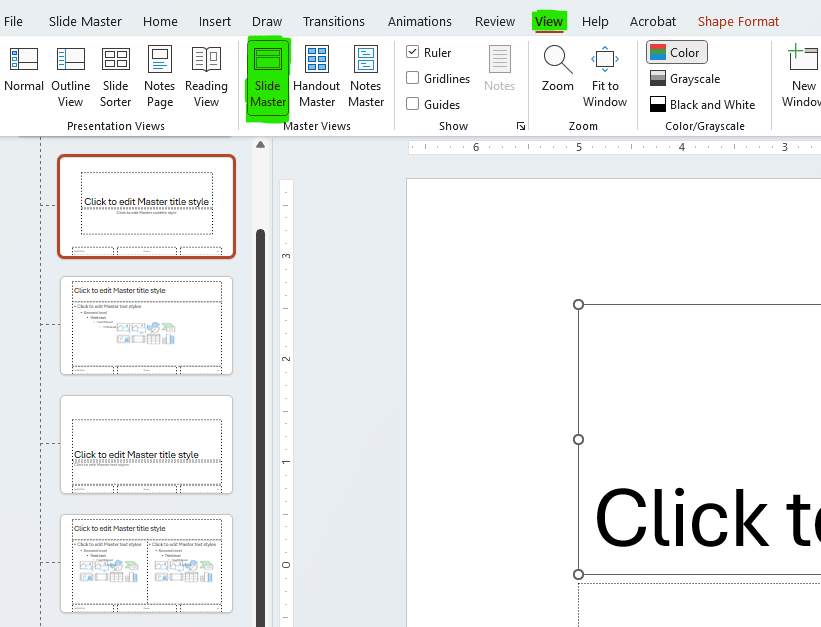
1. Open PowerPoint and Access the Slide Master
-
Open PowerPoint and create a new blank presentation.
-
Go to the View tab and select Slide Master. This will allow you to make global design changes that apply to all slides in your presentation.
2. Customize the Background and Colors

-
Click on the Slide Master (the topmost slide in the left panel).
-
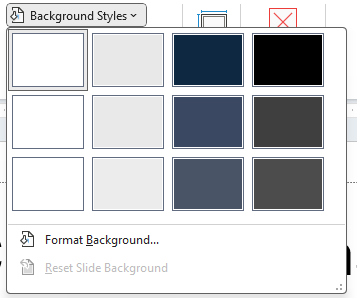 Navigate to the Background Styles in the ribbon and choose a color or design that suits your theme.
 -
 To set custom colors, go to Colors (under the Slide Master tab) and select Customize Colors.
3. Choose Your Fonts
-
In the Slide Master tab, click on Fonts and select a font pair that matches your style.
-
If you want to use a custom font, make sure it’s installed on your system before selecting it.
4. Set Default Text Styles
-
Click on different text boxes (Title, Content, Footer) in the Slide Master and set the preferred font size, color, and alignment.
-
This ensures that every new slide you create follows the same text style.
5. Customize the Layouts
-
Below the main Slide Master, you’ll see different layout options (Title Slide, Title and Content, Two Content, etc.).
-
Modify each layout by adjusting placeholders, adding images, or tweaking spacing to fit your needs.
6. Save Your Theme
-
Once you’re happy with your design, go to the Design tab and click Themes > Save Current Theme.
-
Give it a name and save it in the default location (so it appears in the Themes section for future use).
How to Apply Your Theme to New Presentations
-
Open PowerPoint and go to the Design tab.
-
Click on Themes, and you should see your saved theme under Custom.
-
Click on it, and voila! Your new presentation will automatically have the same colors, fonts, and layouts you created.
Get Our Free Collection of XML Color Theme Powerpoint!
Creating a custom PowerPoint theme is a simple yet effective way to make your presentations stand out. Whether you’re preparing slides for work, school, or personal projects, having a unique theme saves time and ensures consistency across all your presentations. Give it a try, and you’ll wonder why you didn’t do it sooner!